2022
NATHAN NORBY RC
construction
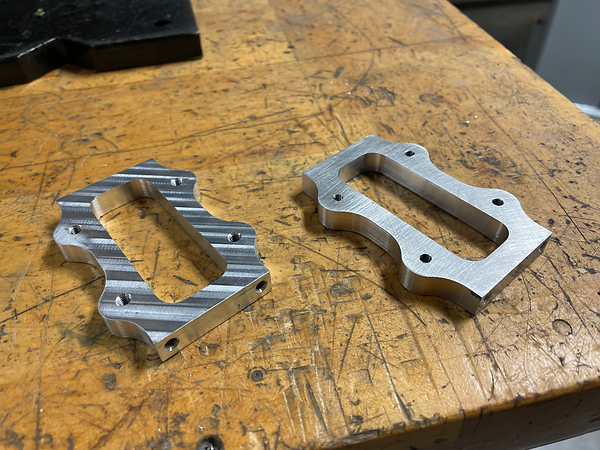
Image C.1
In image C.1 is part NCN-20-102, this was a part produced in the Central Washington machine shop. This part was produced on the Milltronic CNC machine. The difference between these two parts is a face-mill and end-mill surface finish. Students decided to use the end-milled surface finish.
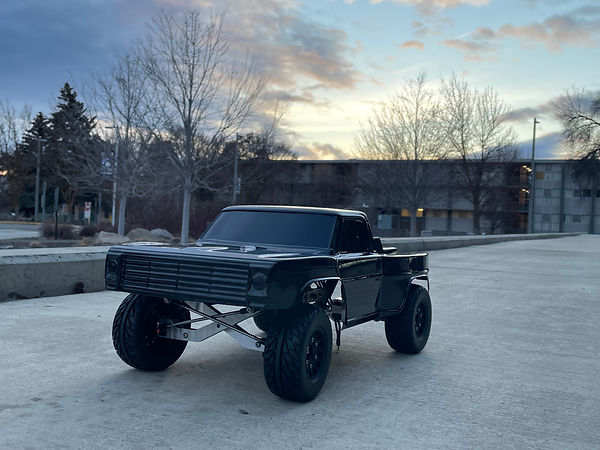
Image C.3
One of the first opportunities students had to do a final mock up of the RC body on the vehicle happened to be followed by a nice sunset. Nathan and Max took the time to appreciate the work that was completed on the vehicle.
Beginning in January students began the construction and manufacturing phase. The students primarily utilized the CWU machine shop. Most parts were milled out of aluminum on either the Bridgeport manual mill or the milltronic CNC mill. Many parts were outsourced to send cut send, a waterjet company based out of nevada. This allowed many of the parts students produced to be finished in either black anodizing or zinc coating.
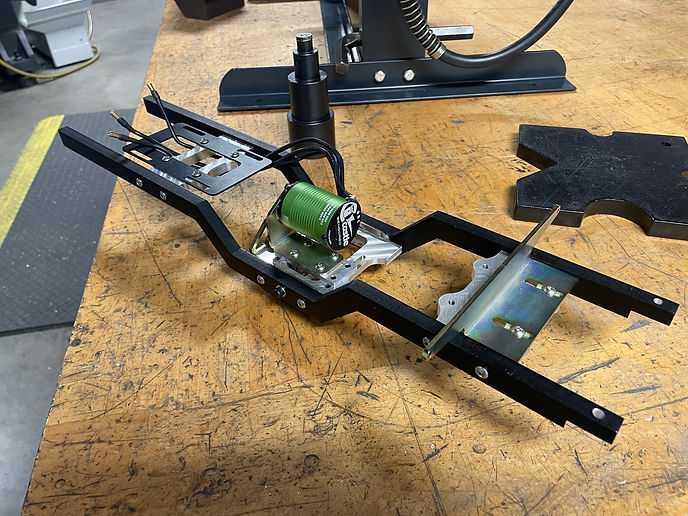
Image C.2
Viewed above is NCN-10-900 assembled with the transmission. This is the primary assembly that students built the rest of the vehicle off of. It was important to complete this assembly early in the quarter to allow test fitment and verify function.

Image C.4

Nathan and Max during the final disassembly of the vehicle during manufacturing day 3. Students took the opportunity to evaluate their progress. This was considered the last opportunity to make major changes before the testing phase, as the final assembly was due two weeks after this photo was taken.
Image C.5
After final assembly, every manufactured part was laid out to represent the completed work. Seeing the work that was completed this quarter was exciting for students. "it is important to take the time to slow down and appreciate how far you've come. It is difficult sometimes to remember what you've accomplished"

